Installing the extension
- Download the extension from this website.
- In your website administrator, navigate to Extensions -> Manage -> Install.
- Click on the Upload Package File tab.
- Drag n Drop your file to the upload area, or else click on the Browse button, select your downloaded extension file, and click Open.
- Wait for the installation to complete.
Adding a New Module Instance
- In your website administrator, navigate to Extensions -> Modules.
- Click on the New button.
- From the list, select PayPal Payments.
- Give your module a title in the Title field.
Configuring the Layout
- On the Module tab, click the button.
- Complete the row of fields:
Type A Value Button displays a button with a fixed value.
A Trigger Button displays a text field when the button is clicked.Text This is the text displayed on the button Value This is the value submitted as a payment. Input Label This is the label given to an input displayed when a Trigger Button is clicked. Input Value This is the value submitted as a payment. 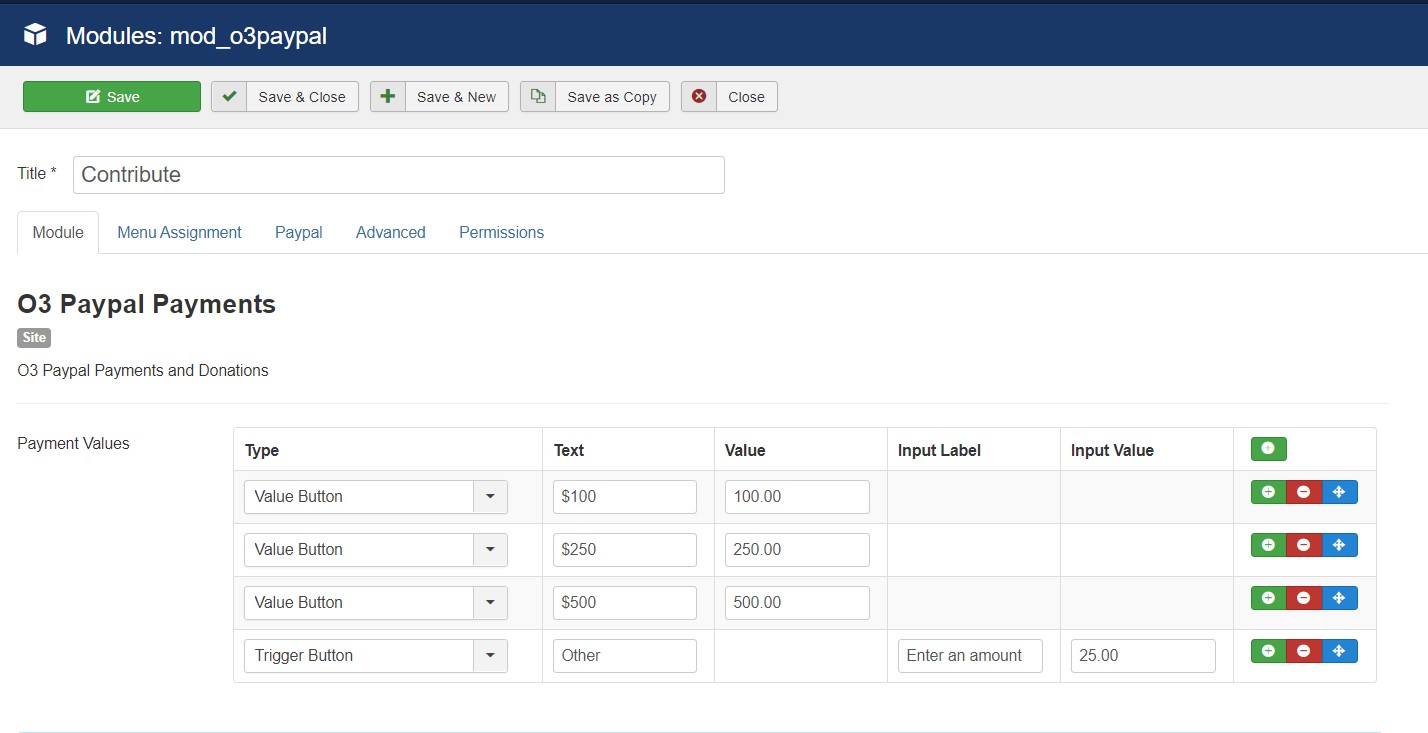 Extension configured for three Value Buttons of $100, $250, and $500, and one Trigger Button with a default value of $25.00.
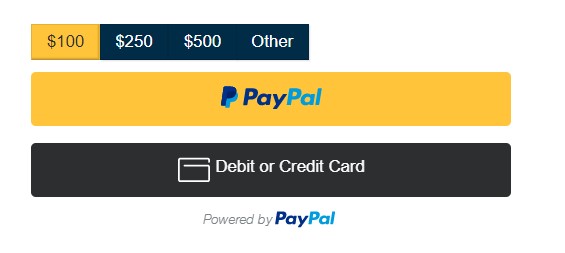 This is the initial layout.
 This is the layout with the Trigger Button clicked.
Configuring PayPal
- Enter your PayPal Client Id and Sandbox Client Id, obtained by following the steps in the next section.
- Select Sandbox for testing purposes. All transactions go through your merchant sandbox account, not your live account.
- Select Live to start taking live payments.
- Set the Billing Currency. This is the currency your funds will be deposited into your merchant account in. Customers will be billed in the currency that PayPal determines is appropriate for their their locale, and will perform currency conversion as required.
- Enable PayPal debug to see extensive logging to the browser console. Do not enable this for Live operation.
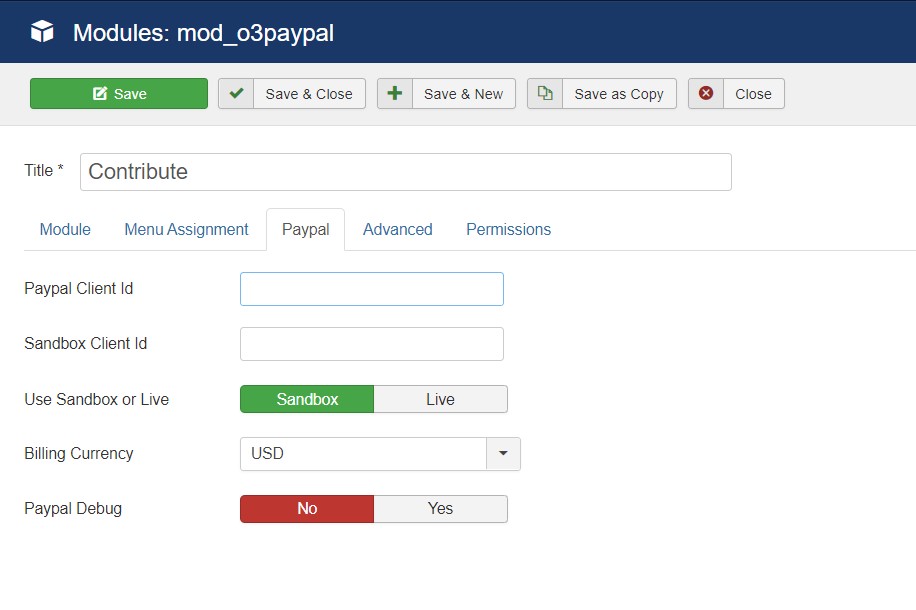 Module parameters for PayPal configuration.
Getting Your PayPal Client Id
In order to take live payments with PayPal, you'll need to create a PayPal Business Account, or upgrade your personal account to business. To generate Client Ids and credentials for the Sandbox and Live environments, perform the following steps:
- Log into the Developer Dashboard with your PayPal account credentials at https://developer.paypal.com/developer/applications/. If you don't have an account, you can click on the sign up option.
- On My Apps & Credentials, use the toggle to switch between live and sandbox testing apps. Note: If you are creating a Sandbox app, you will also need to select a test business account that will act as the API caller. For more details, see Get Started.
- Navigate to the REST API apps section and click Create App.
- Type a name for your app and click Create App. The app details page opens and displays your credentials.
- Copy and save the Client Id and secret for your app.
- Review your app details and save your app.
- Copy & paste the Client Ids for the Sandbox and Live environments into the appropriate module configuration fields.